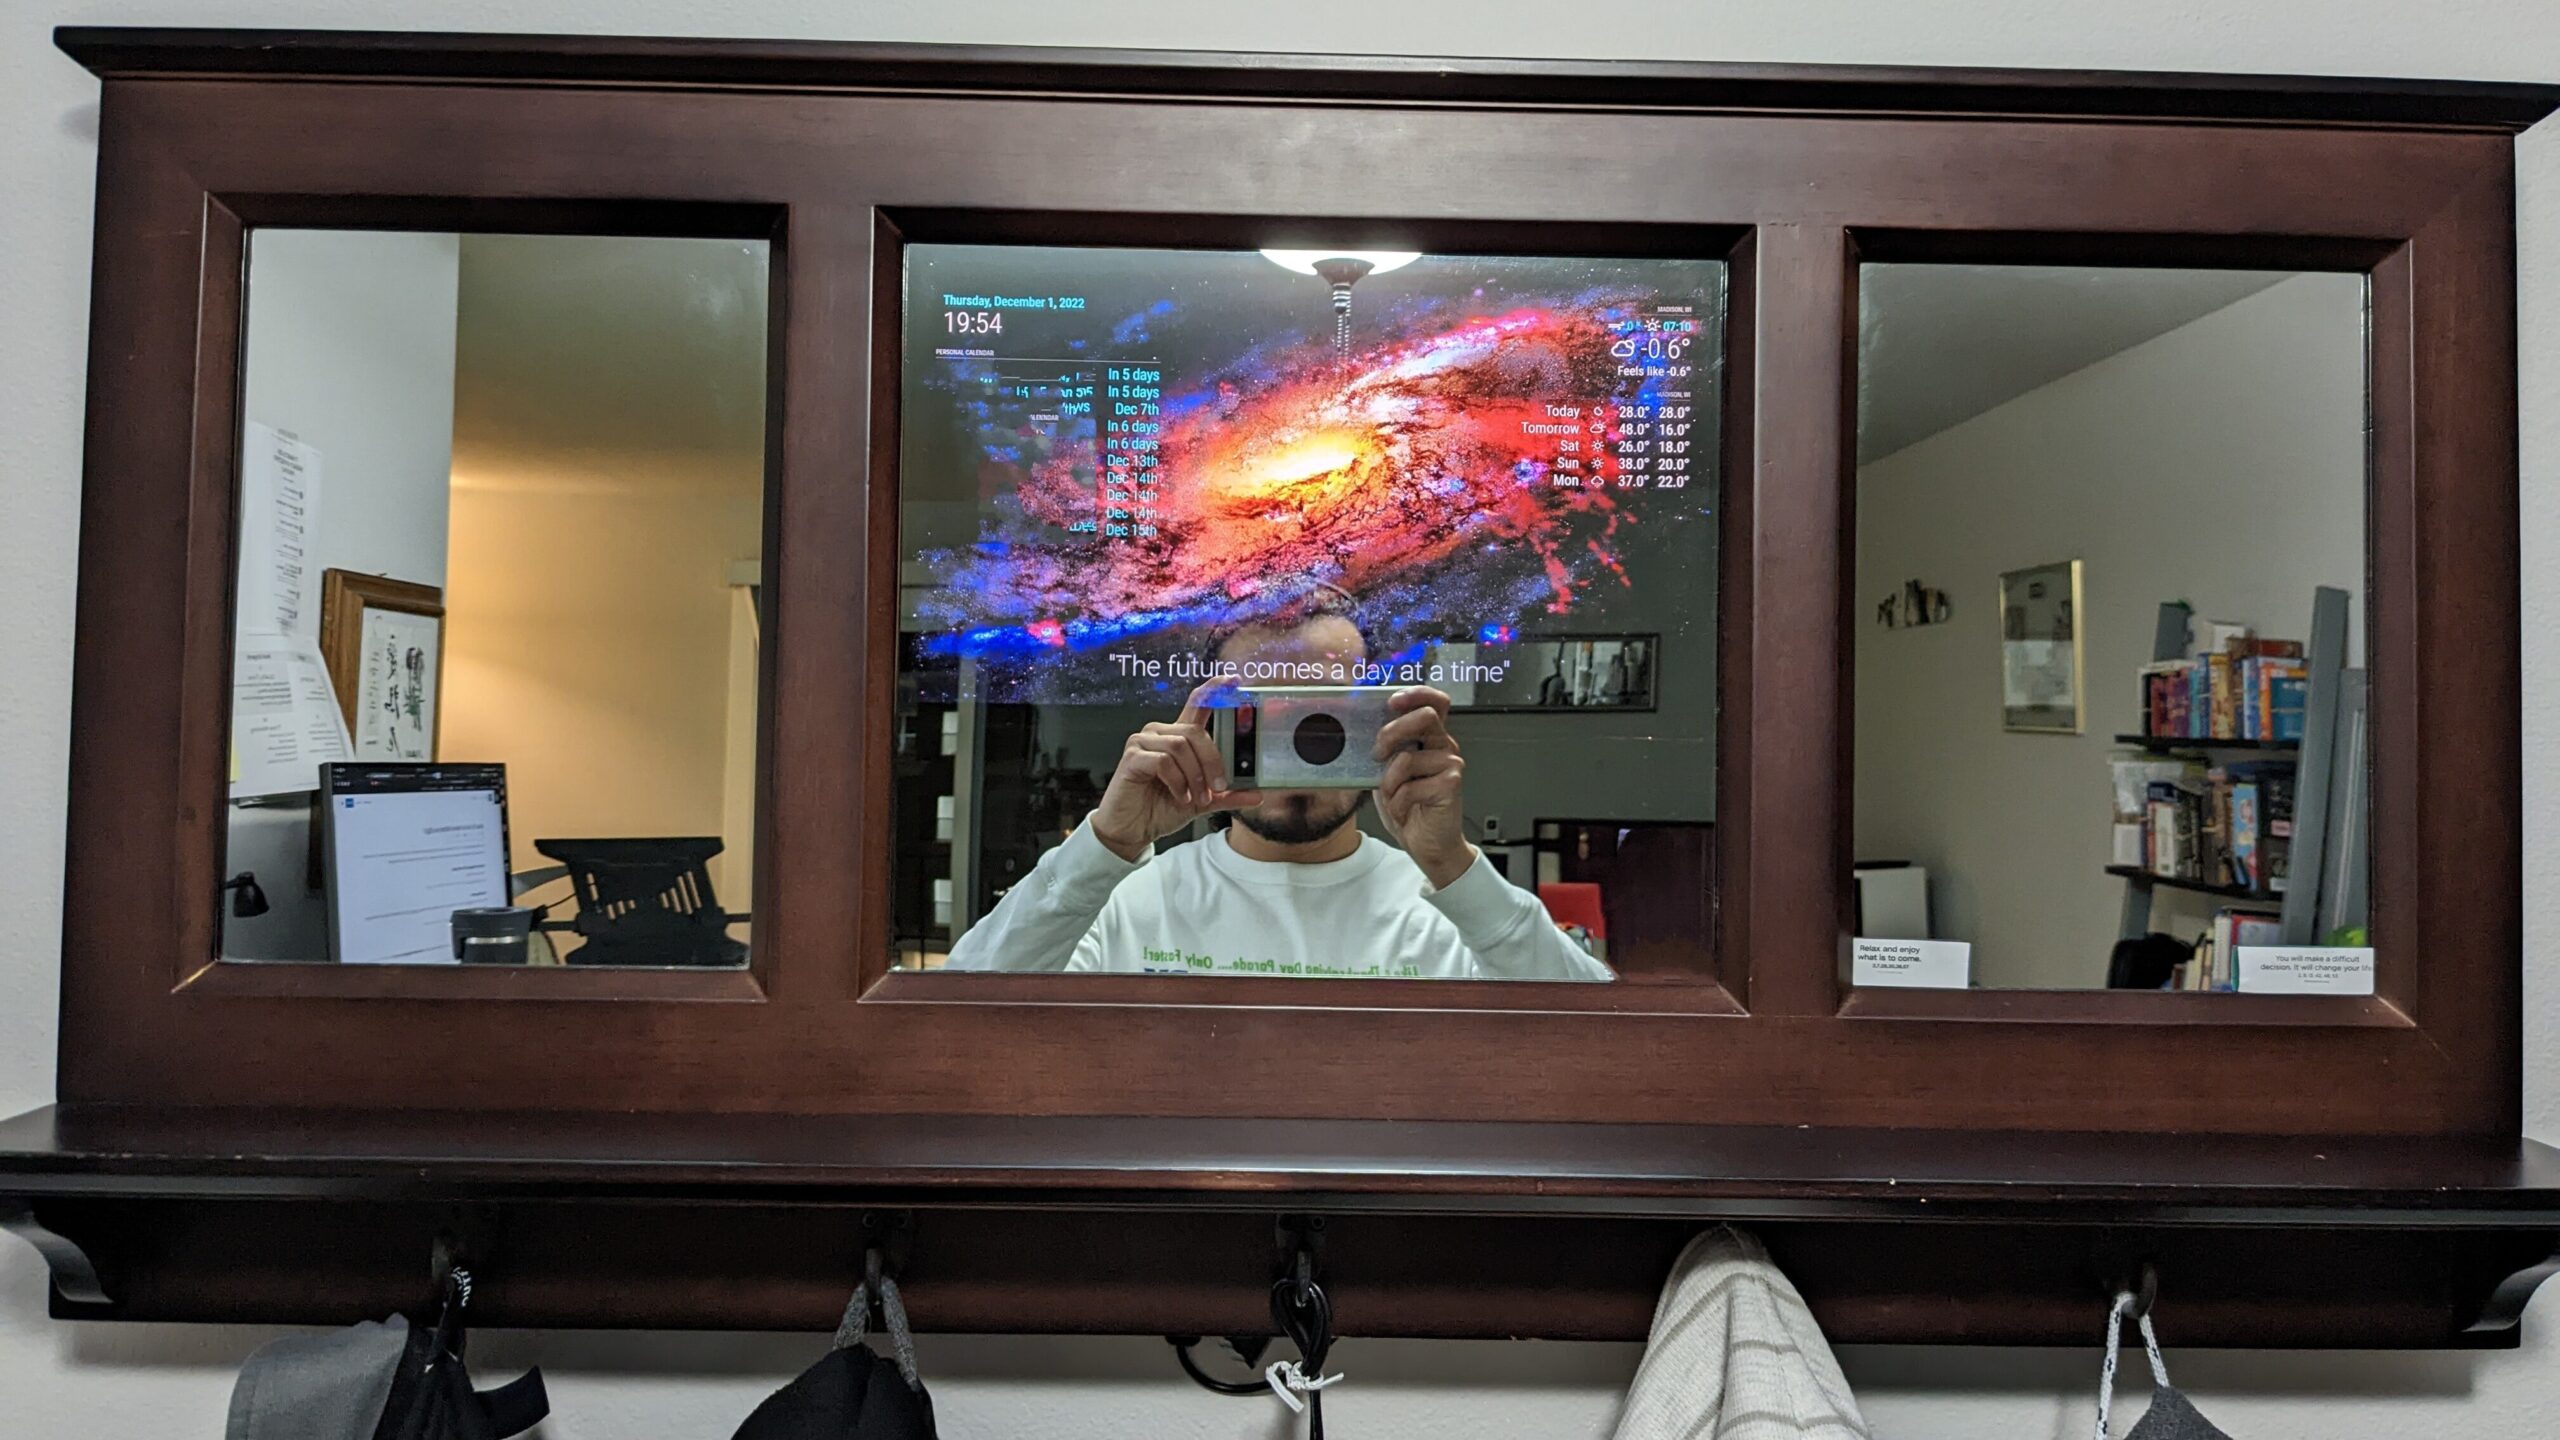
Reasons why Linux (Ubuntu 22.04) can’t be my daily driver.

Updated: 2023/01/09

Main Reason: Stability

There is and inherent sense of anxiety and fear not knowing how your OS will react in any certain day depending on the task and whether or not it will be compatible with what you need.

Video Conferencing

  • This is lacking, online versions of zoom, webex, teams aren’t very well made and the desktop clients are lacking a lot of features. On top of this Wayland doesn’t support desktop sharing which is a pretty essential feature depending on your job.

Word Processing

  • No Microsoft Suite support
    • Closest I could find was OnlyOffice but it’s missing a lot of tools that makes MS Office work well.
  • No Adobe products including Adobe Reader
    • This is fairly important for signing legal documents.

Automation

  • There isn’t a robust built-in automation tool to use like macOS Automation

Other Random Issues

  • Mapping network drives can be difficult
    • By far not as straightforward and easy as in windows,
  • Remote Desktop (Remmina) isn’t as well made as Windows Remote Desktop
    • You can easily copy files between remote and local client as well as copy and paste from the buffer.


GPU Support

  • I have a NVIDIA 3070 Ti so with that in mind:
    • GUI/UI issues
      • Desktop icons shifting by themselves
      • With multi-monitors, dragging and dropping icons sometimes highlights them on both screens with unpredictable end placement on desktop
    • Fractional scaling breaks when using multi-monitor and launching games full screen
    • Sleep and then resume boots to a black screen with no icons or distorted text
      • It seems like it’s been going on for a while

Conclusion

I would love to switch over to Linux one day as my main operating system, but there are too many sacrifices and hurdles where I’m spending more time troubleshooting than actually being productive. I still revisit Linux every 5 years or so and hope enough progress has been made but unfortunately this year is not the year.

How To: Set Up Magic Mirror on a Raspberry Pi 3

After electron deprecated the Pi Zero 32 bit version, my magic mirror was unusable and hacking it to make it work wasn’t working anymore. I had a raspberry pi 3 laying around and decided to replace the pi zero. Here are the steps I used to get my magic mirror up and running again!

1) Install 64 bit Raspberry Pi OS with Desktop
Latest steps are listed here!
https://www.raspberrypi.com/software/operating-systems/#raspberry-pi-os-64-bit

2) Install Magic Mirror
After you have your raspberry pi OS up and running and you have completed all the prompts, connected to your wifi and updated the OS you can follow the steps on this link to install the magic mirror manually.
https://docs.magicmirror.builders/getting-started/installation.html#manual-installation

3) For the background image slideshow to work
Once you have installed your magic mirror, change directories into the modules directory /home/admin/MagicMirror/modules and clone the latest version of the MMM-ImageSlideshow repo here.
* You can use something like FileZilla to SFTP into your raspberry pi and copy your background images into the exampleImages folder, deleting the stock images the module comes with.
* Use images smaller than your screen resolution, I use 1920×1080 because they fill my magic mirror completely.
* Also I would use darker backgrounds to keep the contrast of text to background, I like using images of space.
https://github.com/AdamMoses-GitHub/MMM-ImageSlideshow

4) Google Calendar
Go to settings of your google calendar and scroll down until you see the section below, DO NOT SHARE this link with anybody else or they will have access to your calendar! insert that link in the config.json file

5) Start Magic Mirror Automatically using PM2
Follow the steps here for setting up the mm.sh that running pm2 will launch at boot.
https://docs.magicmirror.builders/configuration/autostart.html#using-pm2

Other Tips
* I have an outlet timer connected to my LED screen and to my raspberry pi, it turns on at 7am and that turns on the screen automatically and the raspberry pi, then pm2 boots up magic mirror
* At 10:50 pm I turn off the raspberry pi by adding the command 50 22 * * * /usr/sbin/shutdown -h now to the roots crontab at sudo crontab -e this prevents the raspberry pi boot drive from being corrupted by the outlet timer suddenly shutting down.
* Lastly here is my config file, css, backgrounds I found and compliments json if anybody wants to check them out!
** the config file goes in /home/admin/MagicMirror/config
** the compliments file goes in /home/admin/MagicMirror/modules/default/compliments
** the CSS file goes in /home/admin/MagicMirror/css
** and the backgrounds go in /home/admin/MagicMirror/modules/MMM-ImageSlideshow/exampleImages

Workflow and Tips: For digitizing a large amount of old photos.

When we moved to the states, my parents brought with them from Mexico a large amount of old photographs, and also when my grandmother passed away, I inherited many more photographs. digitizing them was not easy task but here is my workflow and tips/scripts. Do it right the first time and do it once!

1) Get a good scanner and get good settings

I originally wanted to get the Epson FastFoto FF-680W but after reading about a lot of the problems I decided against it mainly that I doesn’t save as true tiffs and that after a while the rollers produce a vertical line on the scanned photos. After doing some research I settled on the V600, although scanning would have to be manual….
Produce placement links to buy me kombucha:
Epson FastFoto FF-680Whttps://amzn.to/3V4GGCp
Epson Perfection V600 https://amzn.to/3CCxez9

2) V600 Best settings

Manually selecting each photo on their GUI is a pain, and the auto-crop feature crops the border of your photos. So that was also not an option, scanning selected areas in the photos using their software was also MUCH slower than scanning a whole flatbed scan. So I resorted to scanning a 3-4 photos per scan and split them up later (see point #3). I used the professional setting, 800dpi as suggested by a reddit comment on the first link below, and 48-bit depth. his produced flatbed scans of about 300MB each.

  • Workflow
  • https://www.reddit.com/r/DataHoarder/comments/edezqi/need_to_digitize_photos/
  • https://www.reddit.com/r/DataHoarder/comments/p7esqv/scanning_old_photos_dpi_and_tiff_vs_jpeg/
  • https://www.reddit.com/r/DataHoarder/comments/owj6co/i_want_to_digitally_archive_120_years_of_family/
  • https://www.reddit.com/r/DataHoarder/comments/m4natr/need_to_scan_thousands_of_precious_family_photos/

3) Splitting and de-skewing the photos

For my job I do image analysis which involves single cell segmentation. Cropping photos and de-skewing them using python seemed like a no brainer given that image segmentation and modifications is what I do for a living. For this I wrote up a python function that would load all your images from a folder and one by one estimate edge/background of the photos, crop them and automatically de-skew them. This has worked beautifully on ~500gb of scanned whole flatbed scans, only failing around 5% of the time if photos are mostly white.
https://github.com/emmanuel-contreras/photography-tools

4 ) Creating thumbnails of the photos to share

After scanning all these photos, they take up about 300GB of data, I wanted to be able to share them with family and friends without each photo being ~70MB, so one of the functions on the python library down samples the photos by a scaling factor (2 times smaller, 10 times smaller) and outputs the smaller versions into a folder. This is also included in the repository above!

5) Store the originals safely!

CONGRATULATIONS! If you’ve made it this far you have digitized your older photos. Be sure to store them in a proper box with anti-humidify pads. if you ever need to re-scan them or scan them bigger you will have them.

Other Thoughts

Organizing all the photos is a major task on its own, I tried sorting them before scanning them and it proved to be too arduous of a task. my eyes would hurt after hours of trying to match photos of the same events. I instead decided to scan them all and worry about this later, so far I have decided to harness the power of macOS Photos application to do facial recognition and group photos by person, through machine learning. This is still a work in progress and will report back on how (un)successful this was!

Technology: Trying to use Elgato Video Capture device in 2022 (spoiler: don’t, video freezes)

I recently bought one of these at a thrift store for $4 to digitize some tapes. I tried using my newest PC (AMD 5600x 32gb ram) and the video would freeze a few seconds into playing it. if I opened OBS at the same time, the audio would cut out but the video would keep playing on the elgato software. I finally gave up, don’t waste your time getting this device working on newer computers.

To get this working, I did have a spare PC and a windows 7 CD so I installed it on that computer, and after a little playing around with it it worked as intended not surprisingly, although a bit buggy, sometimes video would freeze unless you wen’t back to the video screen. also rewinding causes the video to freeze. I get the feeling if the signal on the software drops even a little bit, it will freeze the display on the elgato software. What I ended up doing was pressing play and right away quickly pressing next through the various screens and quickly started the recording.

If you do want to use this device I would suggest getting a cheap pc with windows 7 but don’t waste your time on newer

Tech: Keyboard/Mouse unresponsive trying to install Windows 7 from disk in 2022.

I wanted to use some software that was windows 7 specific and I had a spare computer I wanted to install it on. Everything worked fine up to the windows 7 install screen, then I would get no mouse/keyboard inputs. I rebooted the computer and the mouse would work fine on the BIOS screen. I figured it may be tied to a date on the windows 7 installer so I set the date on the bios to 2010 and voila mouse and keyboard on the installer!

Problem: No Mouse/keyboard on the windows 7 installer screen

Fix: set the bios date to 2010

Manual: Cyberpower K2 Skorpion keyboard

https://www.cyberpowerpc.com/page/Skorpion-K2/

RGB settings

fn + <key> | each one is a different setting

  • PB = sinusoid
  • SL = rainbow circle expanding outward (fn+left/right inverses direction)
  • PS = rainbow snake around keyboard
  • Ins = whole color rainbow
  • HM = exploding from key presses
  • PU = rainbow sinusoid across keyboard
  • Del = rainbow lines across keyboard (fn + left/right reverses direction)
  • End = preset color colors (fn+end to start edit mode, cycle through key colors, fn +end to exit edit mode)
  • PD = single color fading keys

speed up effects
Fn + plus/minus key

brightness
Fn + up/down

Why I disabled Google ads on my site and my apologies to all who saw them!

The minimal income earned through ads had helped me support this site and keep it going over the years. It’s not super expensive to keep this site going but it’s still an extra yearly cost and what makes it worth are the comments and people who stop by, leave a comment, say how any of my posts helped them. Recently I accessed this site through my phone that does not have any ad blocking and was shocked at the type of ads google was plastering all over my site. I would rather pay directly to host the site than expose people to all these disturbing ads, so I apologize to those who had to see the ads. I’ve disabled them all and hopefully google will remove them all. I hope you all enjoy the site, have fun and learn something!