
When we moved to the states, my parents brought with them from Mexico a large amount of old photographs, and also when my grandmother passed away, I inherited many more photographs. digitizing them was not easy task but here is my workflow and tips/scripts. Do it right the first time and do it once!
1) Get a good scanner and get good settings
I originally wanted to get the Epson FastFoto FF-680W but after reading about a lot of the problems I decided against it mainly that I doesn’t save as true tiffs and that after a while the rollers produce a vertical line on the scanned photos. After doing some research I settled on the V600, although scanning would have to be manual….
Produce placement links to buy me kombucha:
Epson FastFoto FF-680W – https://amzn.to/3V4GGCp
Epson Perfection V600 https://amzn.to/3CCxez9
2) V600 Best settings
Manually selecting each photo on their GUI is a pain, and the auto-crop feature crops the border of your photos. So that was also not an option, scanning selected areas in the photos using their software was also MUCH slower than scanning a whole flatbed scan. So I resorted to scanning a 3-4 photos per scan and split them up later (see point #3). I used the professional setting, 800dpi as suggested by a reddit comment on the first link below, and 48-bit depth. his produced flatbed scans of about 300MB each.
- Workflow
- https://www.reddit.com/r/DataHoarder/comments/edezqi/need_to_digitize_photos/
- https://www.reddit.com/r/DataHoarder/comments/p7esqv/scanning_old_photos_dpi_and_tiff_vs_jpeg/
- https://www.reddit.com/r/DataHoarder/comments/owj6co/i_want_to_digitally_archive_120_years_of_family/
- https://www.reddit.com/r/DataHoarder/comments/m4natr/need_to_scan_thousands_of_precious_family_photos/
3) Splitting and de-skewing the photos
For my job I do image analysis which involves single cell segmentation. Cropping photos and de-skewing them using python seemed like a no brainer given that image segmentation and modifications is what I do for a living. For this I wrote up a python function that would load all your images from a folder and one by one estimate edge/background of the photos, crop them and automatically de-skew them. This has worked beautifully on ~500gb of scanned whole flatbed scans, only failing around 5% of the time if photos are mostly white.
https://github.com/emmanuel-contreras/photography-tools
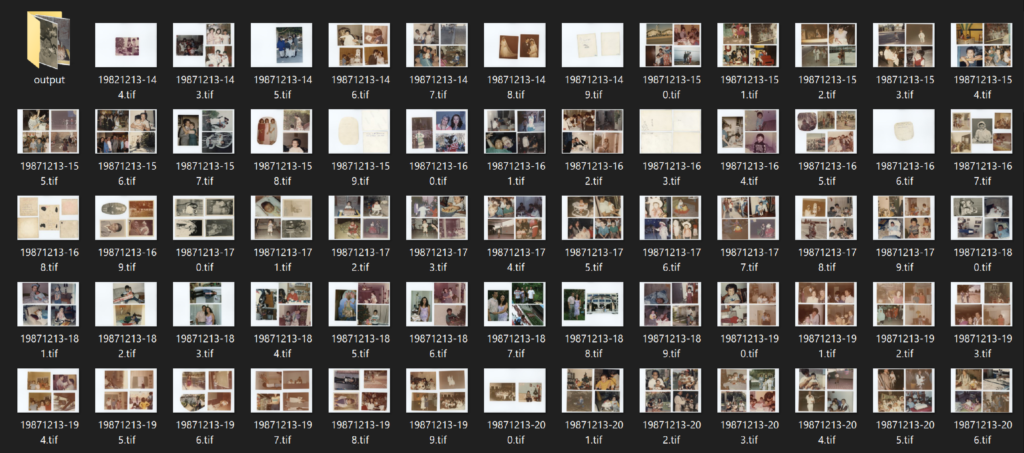
4 ) Creating thumbnails of the photos to share
After scanning all these photos, they take up about 300GB of data, I wanted to be able to share them with family and friends without each photo being ~70MB, so one of the functions on the python library down samples the photos by a scaling factor (2 times smaller, 10 times smaller) and outputs the smaller versions into a folder. This is also included in the repository above!
5) Store the originals safely!
CONGRATULATIONS! If you’ve made it this far you have digitized your older photos. Be sure to store them in a proper box with anti-humidify pads. if you ever need to re-scan them or scan them bigger you will have them.
Other Thoughts
Organizing all the photos is a major task on its own, I tried sorting them before scanning them and it proved to be too arduous of a task. my eyes would hurt after hours of trying to match photos of the same events. I instead decided to scan them all and worry about this later, so far I have decided to harness the power of macOS Photos application to do facial recognition and group photos by person, through machine learning. This is still a work in progress and will report back on how (un)successful this was!